Thinking about listing your Oakland home but unsure where to start? You are not alone. In a market where buyers scroll before they stroll, small, smart updates and photo-first staging can make the difference between a quiet listing and multiple offers. In this guide, you will get a practical, Oakland-tailored playbook of low-cost tweaks, a clear prep timeline, and a photography plan that helps you sell faster and for more. Let’s dive in.
Why staging matters in Oakland now
Oakland and the wider Alameda County market attract a mix of tech professionals, families, and investors who value transit access, usable outdoor space, and move-in-ready condition. Listings that look bright, clean, and functional online generate more showings and stronger first-week momentum. That is why staging and great photos carry outsized weight.
In micro-markets shifting toward balanced conditions, presentation becomes decisive. Highly competitive neighborhoods like Rockridge, Temescal, and Piedmont Avenue usually reward top-tier staging, while price-sensitive areas may benefit most from targeted, low-cost fixes. The goal is to meet neighborhood expectations without overspending.
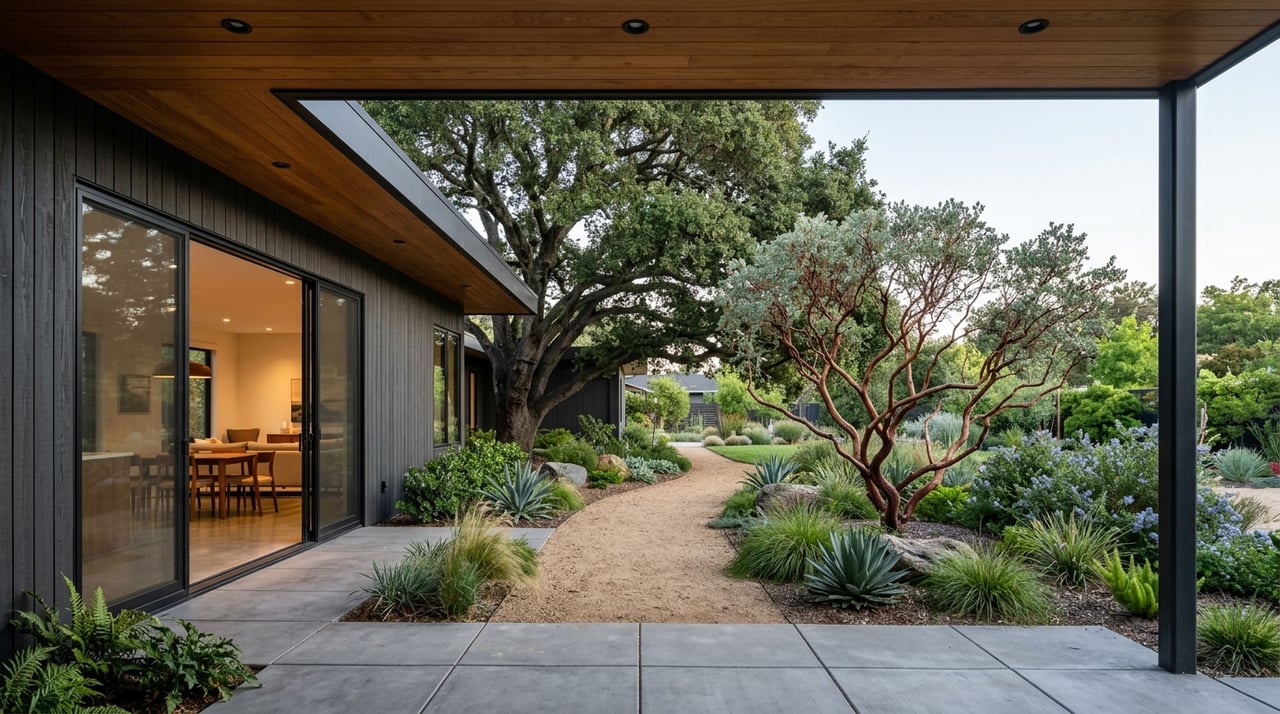
ADUs, flexible office spaces, and well-presented yards are key differentiators for Oakland buyers. Highlight these features in your photos and floor plan to capture attention.
The 80/20 staging checklist
These items deliver the most visible impact for the least cost. Start here, then layer in upgrades as budget and timeline allow.
High-impact, low-cost wins (Very Low to Low)
- Declutter and depersonalize (Very Low). Remove personal photos, extra furniture, and collections to create space and help buyers picture themselves there.
- Deep professional clean (Low). Focus on kitchens, baths, windows, and carpets. Clean reads as well-cared-for in photos.
- Neutral touch-up paint (Low). Fresh, neutral walls and a crisp front door help images pop and modernize the feel.
- Lighting optimization (Very Low to Low). Use warm LED bulbs with higher color rendering and add lamps to dark corners. Bright photos drive clicks.
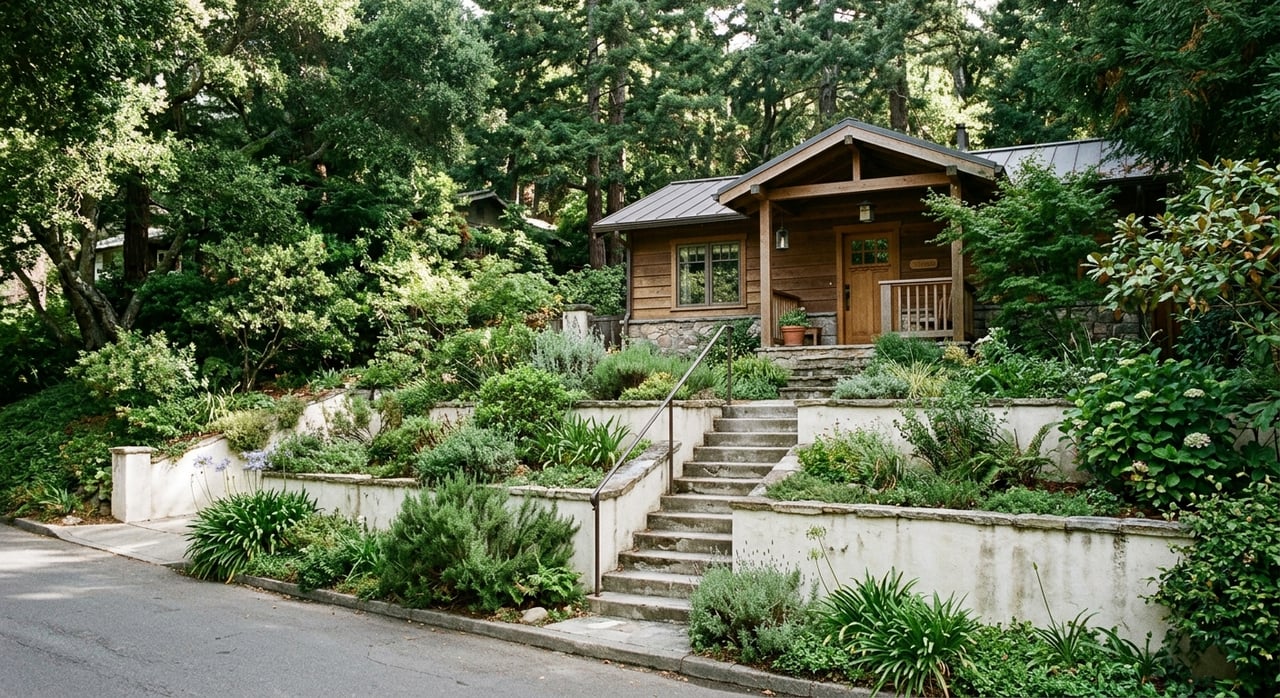
- Curb appeal tidy-up (Low). Power wash, trim hedges, add a simple planter and doormat. The first image sets the tone.
Moderate updates with outsized return (Low to Mid)
- Minor kitchen refresh (Low to Mid). Swap dated hardware, refresh grout and caulk, and update a faucet or light. Small changes raise perceived quality.
- Bathroom staging upgrades (Low to Mid). New toilet seat, modern lighting, fresh shower curtain and towels, and resealed grout.
- Flooring improvements (Low to Mid). Refinish scratched hardwoods or replace stained carpet. Floors photograph prominently.
- Organize storage (Low to Mid). Tidy closets, pantry, and garage. Buyers notice usable storage and neat systems.
Big-impact options when warranted (Mid to High)
- Professional furniture staging (Mid to High). Full staging in vacant homes often outperforms empty rooms in photos. Partial staging can help in occupied homes.
- Window treatments (Mid). Simple, modern blinds or shades improve light control and the overall look.
- Landscaping or fencing (Mid to High). If outdoor living is a selling point, define zones with planters, gravel, mulch, or simple seating.
- Targeted repairs (High when necessary). Address safety or system issues, such as plumbing or electrical, and disclose known defects clearly.
Room-by-room cheat sheet
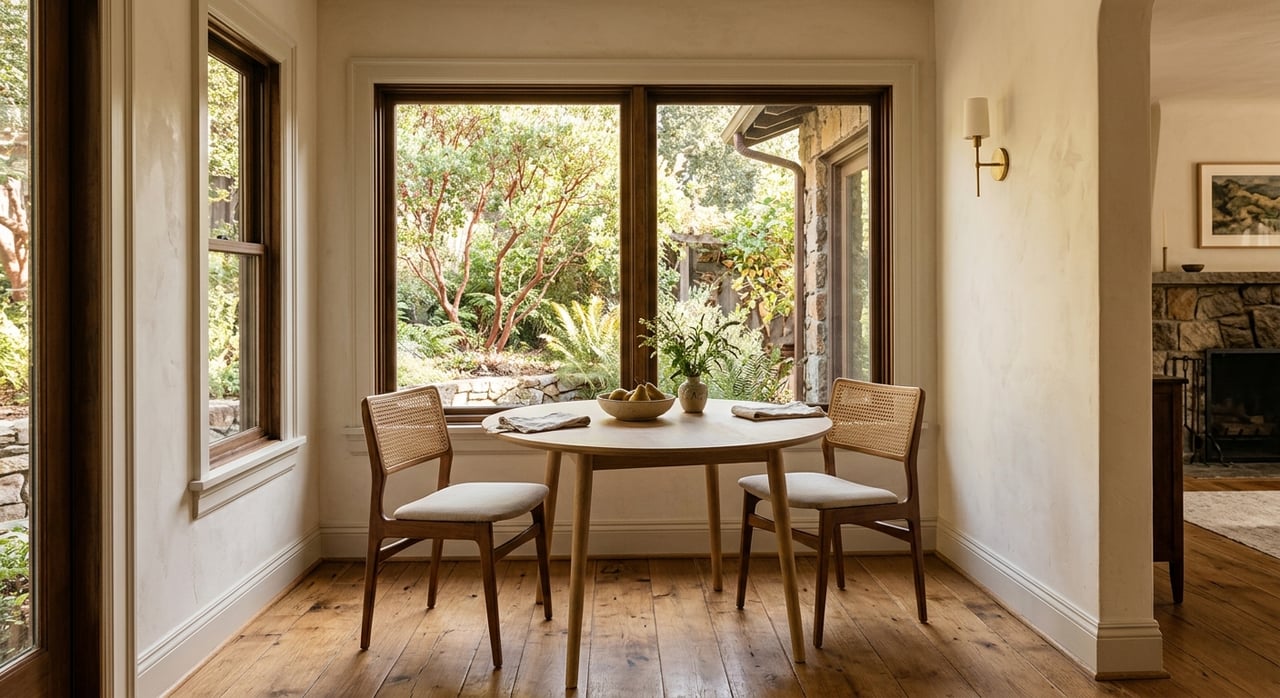
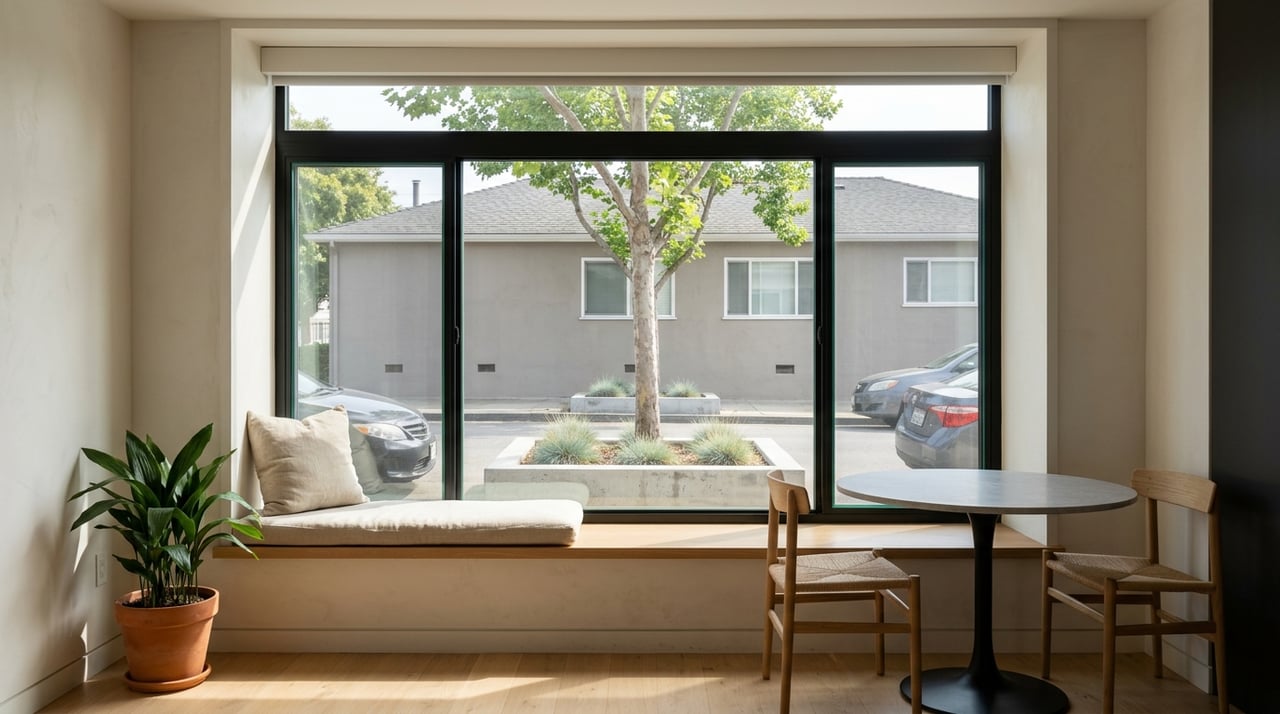
Living and dining
- Remove bulky pieces to open sightlines.
- Use neutral rugs and minimal art to create calm, bright vignettes.
- Set a simple dining table with 1 to 2 decor items.
Kitchen
- Clear counters except for one or two attractive items.
- Replace yellowed switch plates and add under-cabinet lights if possible.
- White towels and a small plant photograph clean and fresh.
Bedrooms
- Use light, neutral bedding and matching lamps.
- Remove large dressers if they crowd the room.
- Stage one secondary bedroom as a home office when layout allows.
Bathrooms
- New towels, a neutral shower curtain, and clean grout make a big difference.
- Hide toiletries and use a small tray or plant for polish.
Storage and laundry
- Box and label seasonal items; keep floors visible.
- Show functional shelving and open space.
Outdoor spaces
- Power wash, add a welcome mat, and define a seating area.
- If you have an ADU or studio, stage a work or guest setup to show flexibility.
Photo-first listing strategy
Pro photography that sells
- Hire a Bay Area real estate photographer who offers interior, exterior, twilight, and aerial shots where allowed.
- Shoot sequence: exterior front, entry, main living spaces, kitchen, primary suite, baths, outdoor living, secondary rooms, and unique features like views or built-ins.
- Time the shoot for soft natural light and schedule interiors when rooms are brightest. Twilight works well for skyline or view shots.
- For photos, remove floor mats and small rugs that chop up spaces and adjust decor to show scale and flow.
Virtual staging, 3D tours, floor plans, and video
- Virtual staging can boost engagement for vacant spaces. Always disclose that images are virtually staged.
- 3D tours help relocating buyers and complex layouts. They keep visitors on your listing longer and pre-qualify showings.
- Provide a simple floor plan so buyers grasp flow and room sizes quickly.
- Short neighborhood clips of parks and transit can help position the home.
Pre-photo checklist
- Declutter and deep clean completely.
- Make beds and set a minimal dining table.
- Open blinds and curtains, turn on all lights.
- Remove cars from driveway and tidy yard.
- Hide pet items and daily toiletries.
- Allow 1 to 2 hours for the full shoot.
Timing and vendor playbook
Quick list: 3 to 7 days
- Day 1 to 2: Declutter, deep clean, touch-up paint in key rooms.
- Day 3: Photographer appointment and listing draft.
- Day 4: Launch with photo-first marketing.
Standard prep: 2 to 4 weeks
- Week 1: Quotes from painter, handyman, landscaper, stager, and photographer. Start deep clean and initial repairs.
- Week 2: Paint touch-ups, minor kitchen and bath refresh, curb appeal.
- Week 3: Install staging, final clean, and photography.
- Week 4: Marketing, broker tour, and open house schedule.
Coordination and cost control
- Get multiple bids and confirm availability early. Calendars can book 2 to 4 weeks out.
- Sequence work: paint before floors, then final clean, then staging, then photos.
- For stagers, confirm rental period, delivery and pickup windows, insurance, and replacement values.
- For condos, confirm HOA rules for open houses, signage, and elevator access for furniture.
- For vacant homes, compare full staging to virtual staging based on neighborhood norms and expected price range.
Oakland property types: special notes
Condos and HOAs
- Work within HOA rules for access, signage, and common area use.
- Focus on maximizing light and space inside the unit and present common areas clearly if allowed.
Multi-family and investor listings
- Emphasize functionality and rental potential. Show clear unit layouts, updated kitchens and baths, and separate meters if applicable.
Small urban homes and lofts
- Keep sightlines open and use multi-function furniture.
- Avoid oversized pieces that overwhelm compact rooms.
Legal, disclosure, and permits
- Provide required California disclosures, including Transfer Disclosure Statement and Natural Hazard Disclosure. Staging must not hide known defects.
- Do not conceal material issues such as water intrusion or structural concerns. Clear disclosure reduces risk and protects the sale.
- Virtual staging should be labeled accurately in marketing and MLS materials.
- Cosmetic work typically does not need permits. Structural, electrical, plumbing, or roof work likely does. Verify with the City of Oakland or Alameda County as applicable.
- For exterior changes like fencing or decks, confirm local permit rules and setbacks. Follow HOA guidelines for planned developments and condos.
Prioritize for your micro-market
Review comparable sales from the last 60 to 90 days within about half a mile to calibrate your plan. In areas where most listings are updated and staged, matching that standard helps you compete. In more price-sensitive pockets, concentrate on the highest-impact, low-cost items first and invest selectively in kitchens, baths, and curb appeal.
Top 8 tasks to start this week
- Declutter and depersonalize.
- Deep clean, including windows and carpets.
- Touch-up paint in neutral tones.
- Improve lighting with warm LEDs.
- Refresh curb appeal.
- Update kitchen hardware and caulk.
- Refresh bathrooms with towels, lighting, and grout.
- Book a professional photographer and plan your photo sequence.
Your next step
A tailored, photo-first plan aligned to your Oakland micro-market can unlock more traffic, better tours, and stronger offers. If you would like a calm, data-driven walkthrough, vendor coordination, and a clear prep calendar, connect with Karthiga Anandan for a personalized market strategy.
FAQs
What low-cost staging updates have the biggest impact in Oakland?
- Decluttering, deep cleaning, neutral paint, lighting upgrades, and curb appeal create the strongest first impression for the least spend.
How much should I budget for professional staging in a vacant home?
- Expect a mid to high range cost depending on size and neighborhood expectations, with partial staging as a lower-cost option for occupied homes.
Is virtual staging allowed for Oakland listings?
- Yes, virtual staging is useful for vacant spaces, and it must be clearly disclosed in marketing and MLS materials.
Do I need permits for pre-list updates like paint or hardware swaps?
- Cosmetic work usually does not require permits, while structural, electrical, plumbing, or roof work typically does and should be verified locally.
How long does it take to prep my home before listing?
- A quick list can be 3 to 7 days, a standard prep is often 2 to 4 weeks, and larger remodels with staging can run 6 to 12 weeks or more.
How do HOA rules affect condo staging and showings?
- HOAs may limit signage, open house schedules, and elevator access for furniture, so confirm rules and coordinate logistics early.